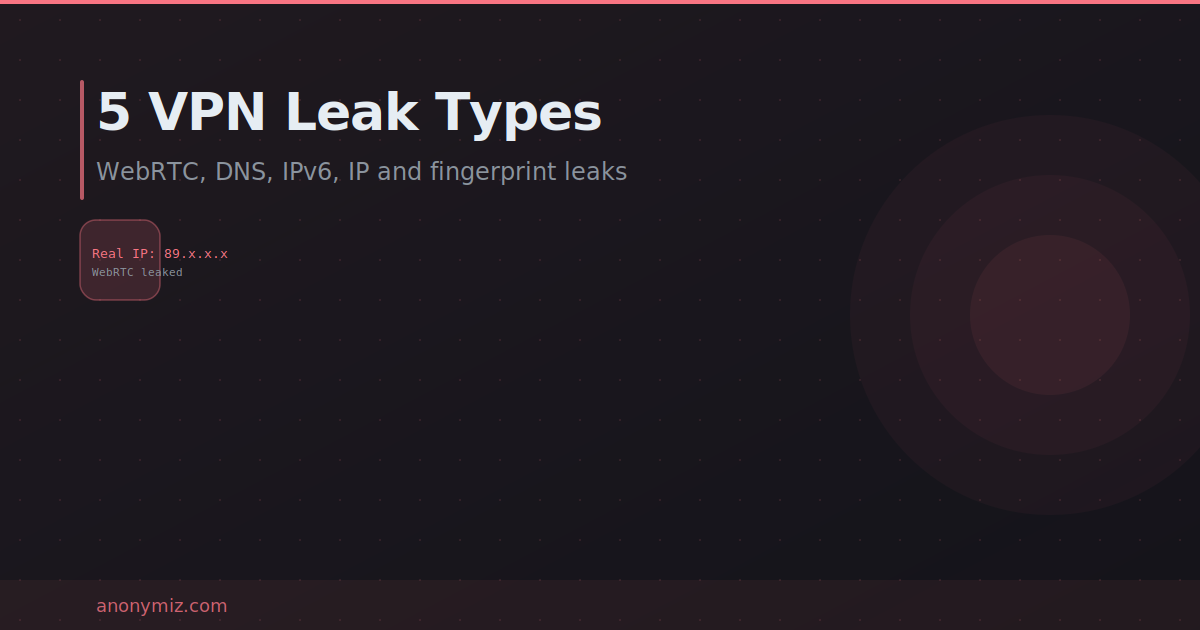
A VPN that leaks is worse than no VPN — because you think you are protected when you are not. Here is a complete checklist to verify your VPN is actually doing its job.
Step 1: Check Your IP Address
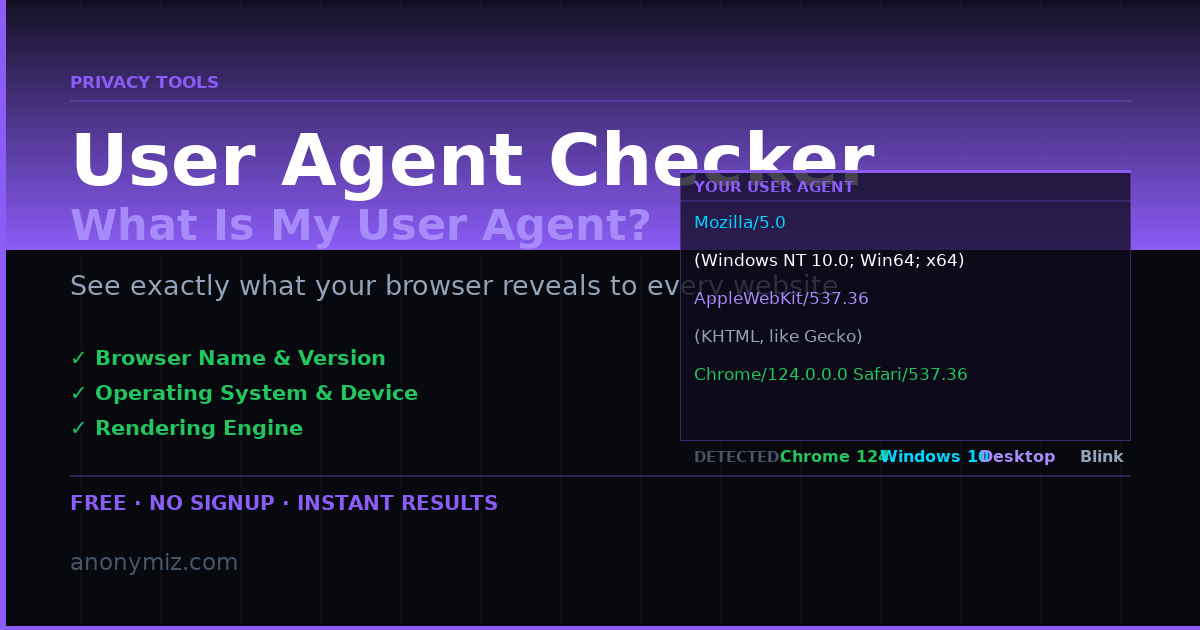
Before connecting to your VPN, note your real IP address at Anonymiz What Is My IP. Connect to your VPN and check again. If the IP address has changed to the VPN server location, your basic IP masking is working. If it still shows your real IP — your VPN connection failed silently.
Step 2: Test for DNS Leaks
A DNS leak means your DNS queries are bypassing the VPN tunnel and going to your ISP. Use Anonymiz DNS Leak Test while connected to your VPN. You should only see DNS resolvers from your VPN provider — not your ISP.
Step 3: Test for WebRTC Leaks
WebRTC can expose your real IP address through the browser even when your VPN is active. Use Anonymiz WebRTC Leak Test to check. If you see your real IP under WebRTC, your browser is leaking despite the VPN.
Step 4: Check Your VPN Speed
A VPN that cuts your speed by more than 50% is poorly optimised. Use Anonymiz VPN Speed Test to measure your connection speed with and without VPN. Good VPNs (NordVPN, Mullvad, ExpressVPN) should reduce speed by no more than 10-20%.
Step 5: Check for IPv6 Leaks
Most VPNs tunnel IPv4 but leak IPv6 traffic outside the tunnel. If your ISP assigned you an IPv6 address, it can still be seen. The DNS Leak Test also checks for IPv6 — look for any IPv6 addresses from your ISP in the results.
What to Do If Your VPN Is Leaking
- Enable kill switch in your VPN client settings.
- Enable DNS leak protection and IPv6 leak protection.
- Disable WebRTC in your browser.
- If leaks persist, switch to a VPN that passes all tests — Mullvad and ProtonVPN have strong leak protection records.